Steam Roller Printing
October 19, 2021
This month I had an incredible opportunity to create a huge woodblock relief print for the Fitton Center for Creative Arts’ steamroller printing demonstration during Operation Pumpkin (a fall street festival in Hamilton, OH.) Below I’ll go step by step and show you how the block was created and printed (with lots of help from Billy Simms and my Fitton Team.)
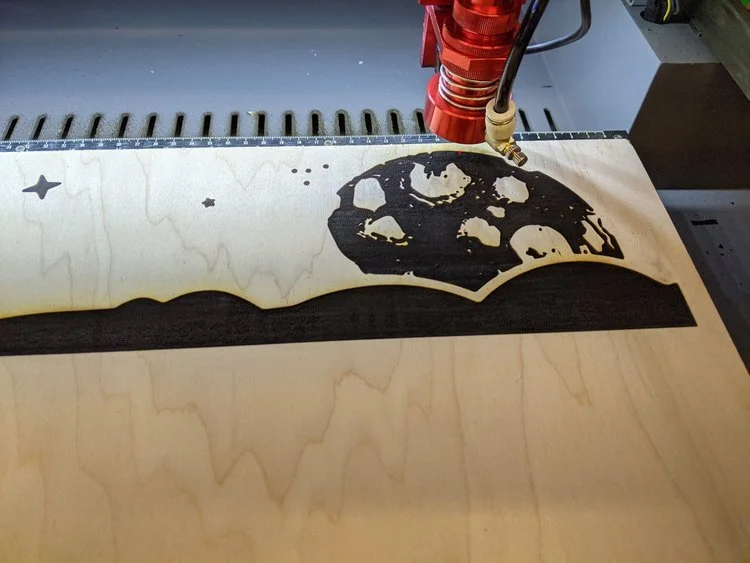
The block was cut primarily with a laser cutter, although some hand-carved elements were included. The design was divided across three blocks, which allowed us to create a large image (over three feet long) when the three blocks were combined. Each block measured 13” x 20” and took roughly 6 - 7 hours of cutting time.
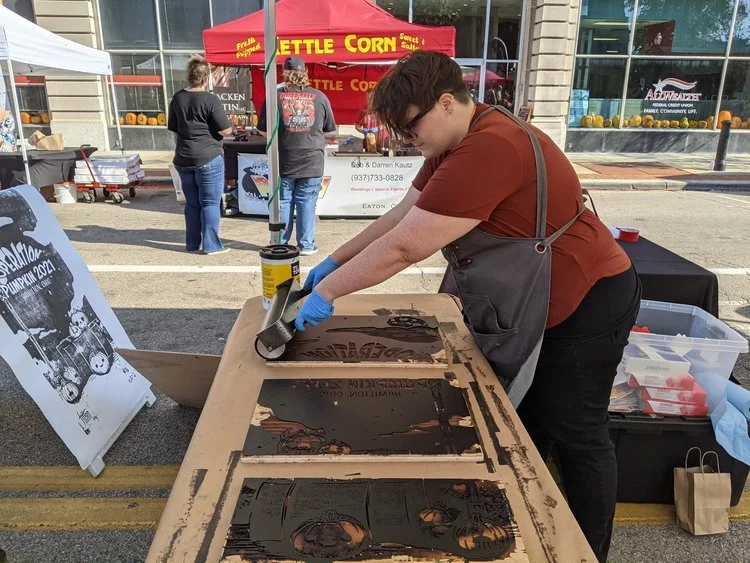
Once the blocks were cut, they received a few coats of shellac and were given time to dry. Then they were ready to ink! It took several proofs to get a rich black image, but eventually we got there.
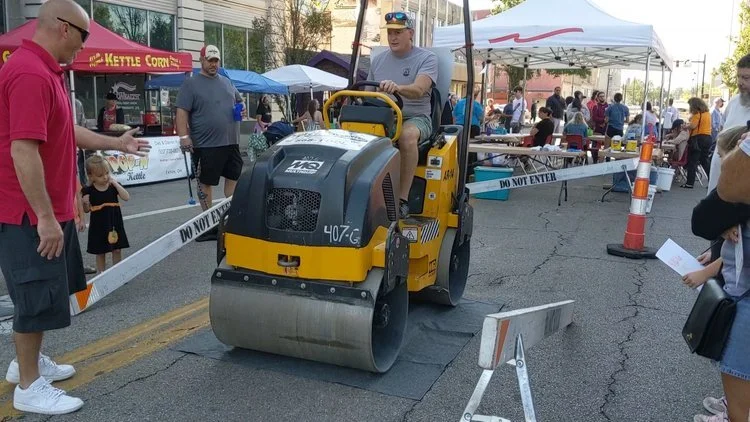
After the blocks were inked, we placed them into a frame we built (designed by Billy Simms) to secure them in place. The paper was then placed overtop of the blocks and layered with a sheet of plywood and a piece of woven fabric. Next it was time to print the design by driving over the stack with the steamroller. Here you can see Billy behind the wheel!
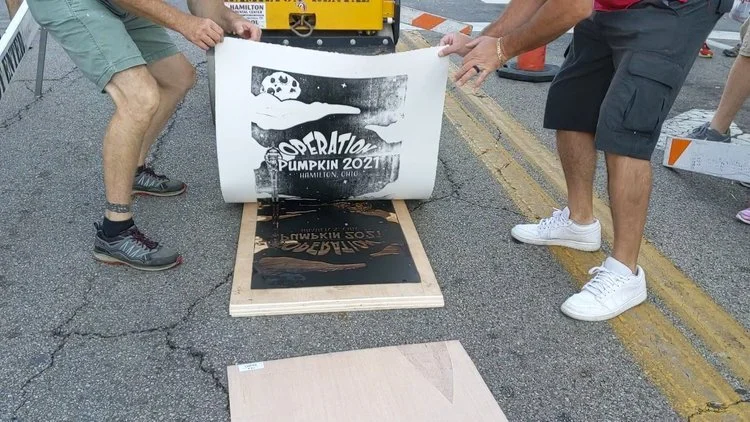
The moment of truth! After driving over the blocks with the steamroller it was time to reveal the print. Here you can see the paper being lifted up off of print #1.
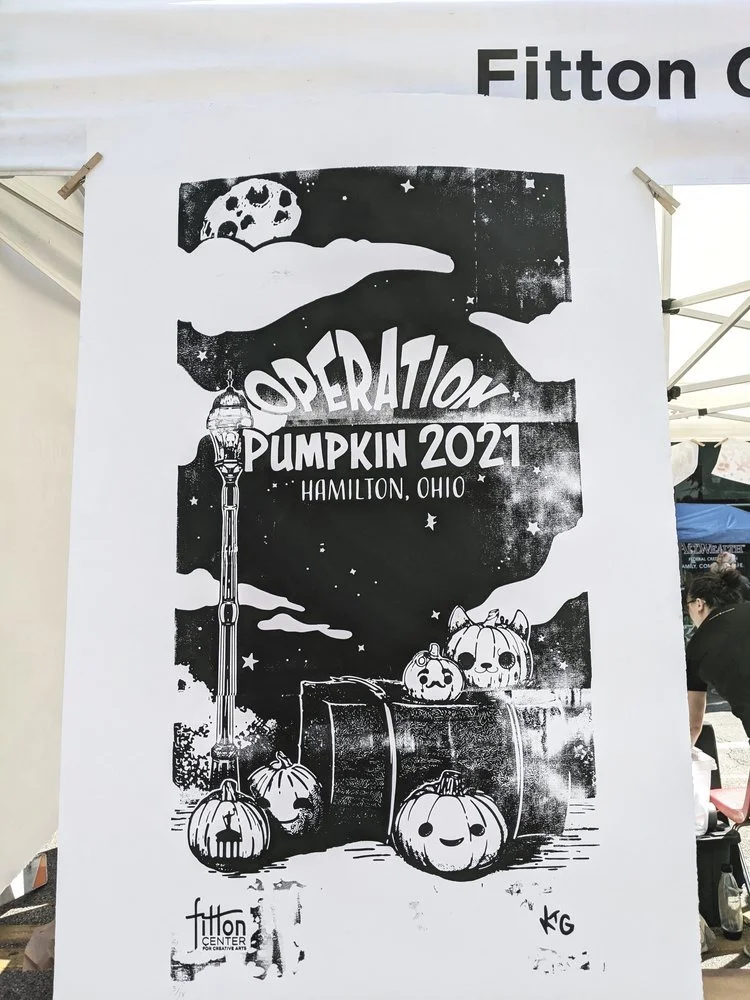
The finished print! It was a very cool experience to create a design this large and finally see it come to life after so much work!
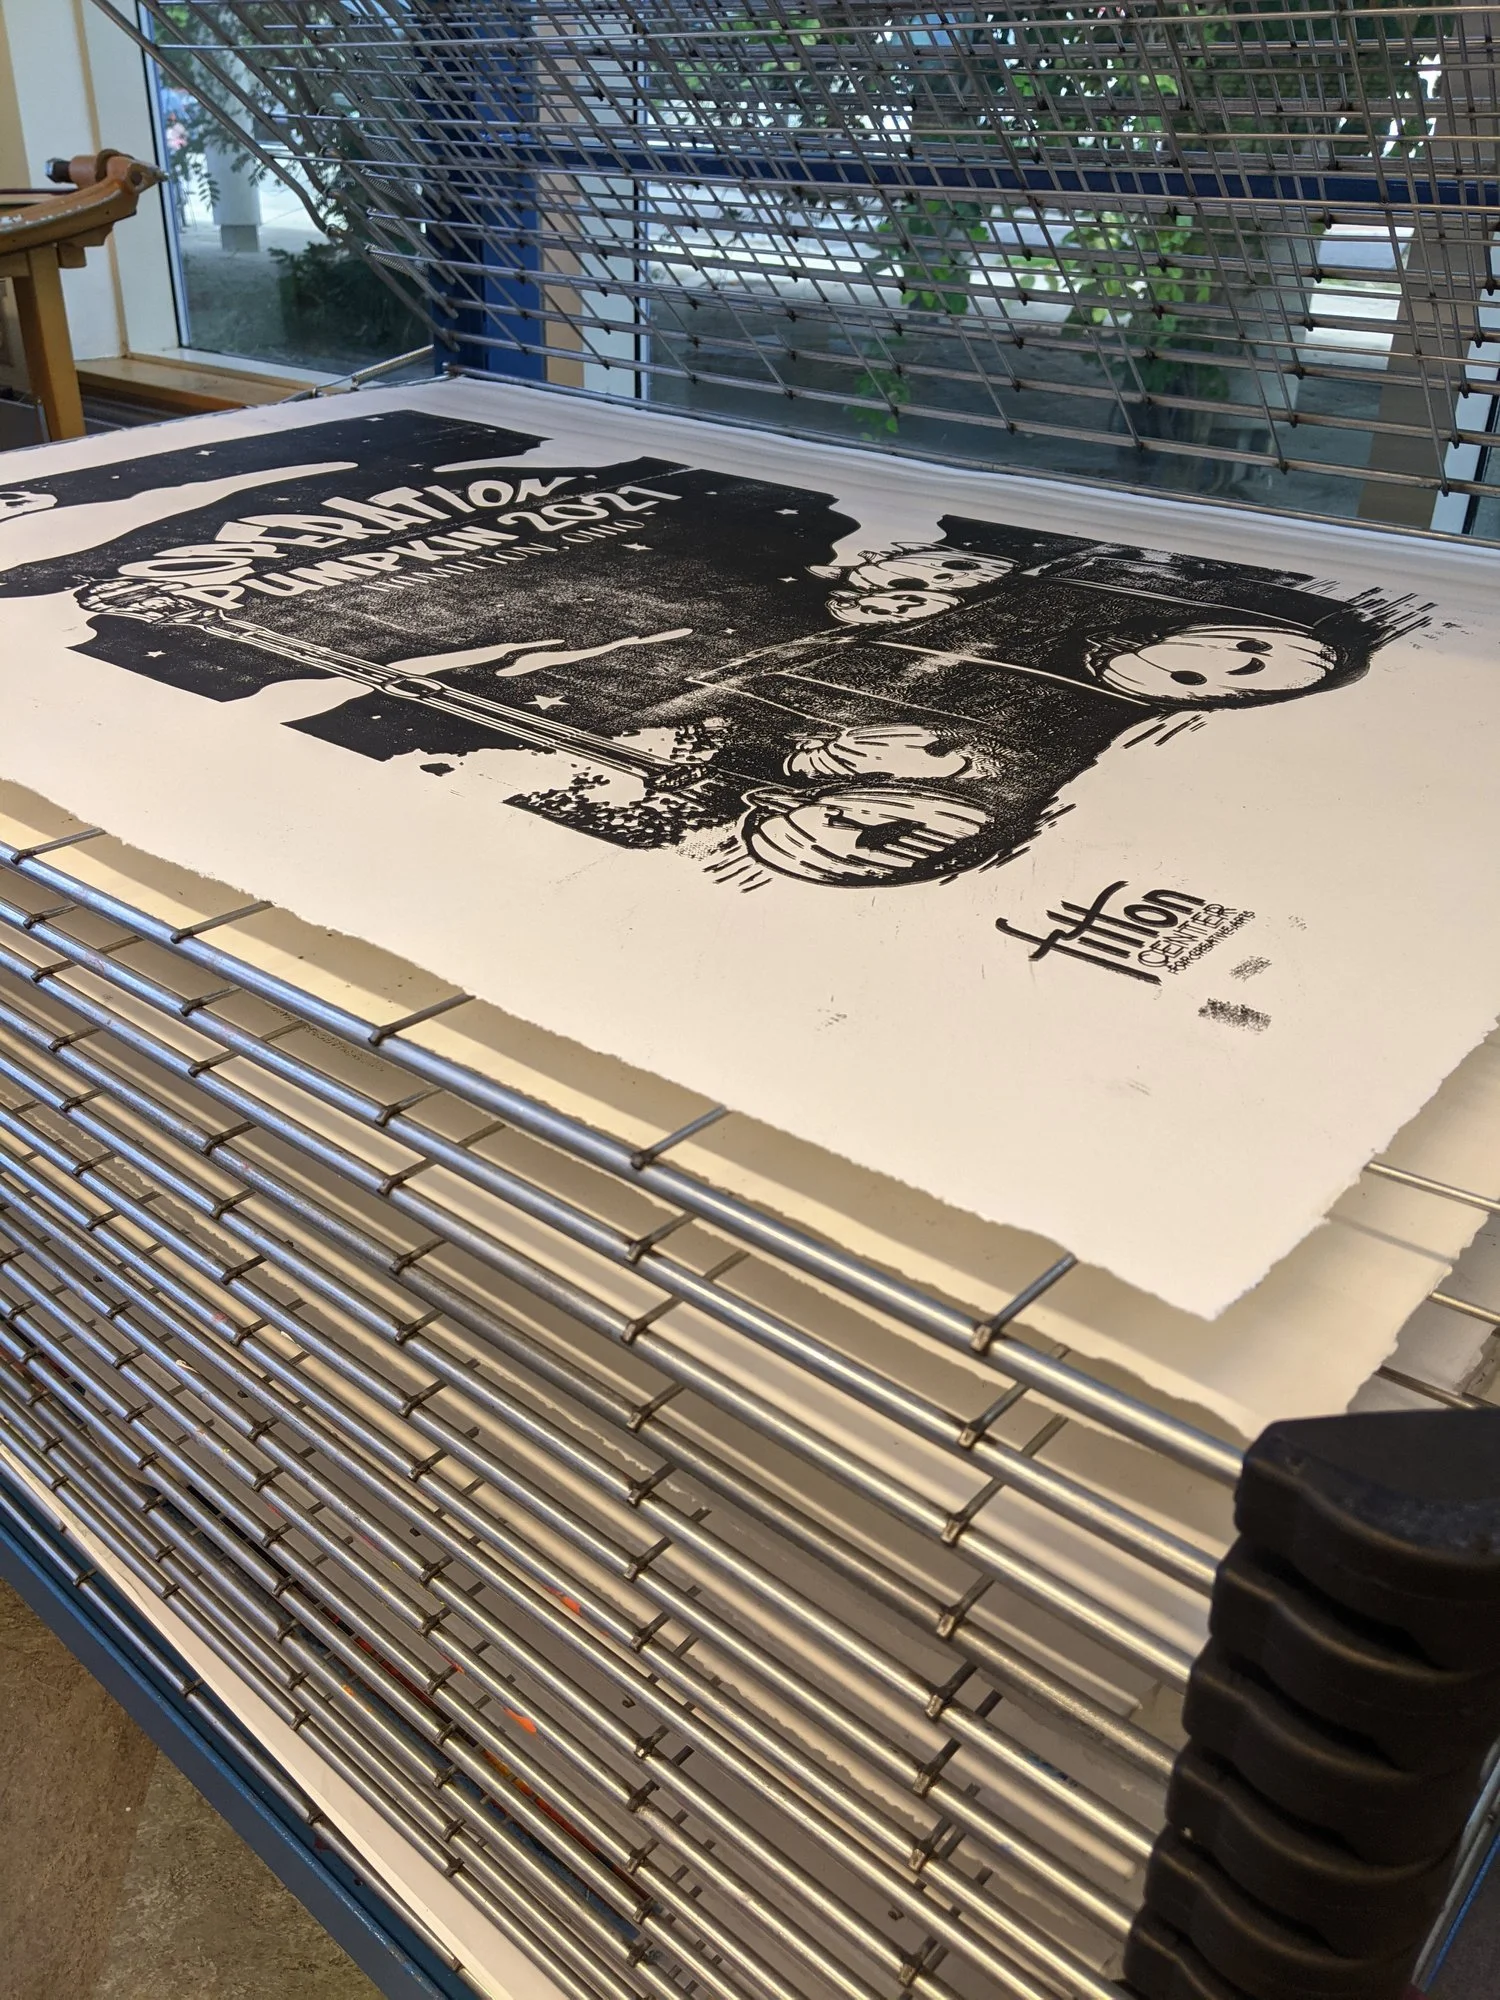
The finished edition nestled safely in the drying rack.